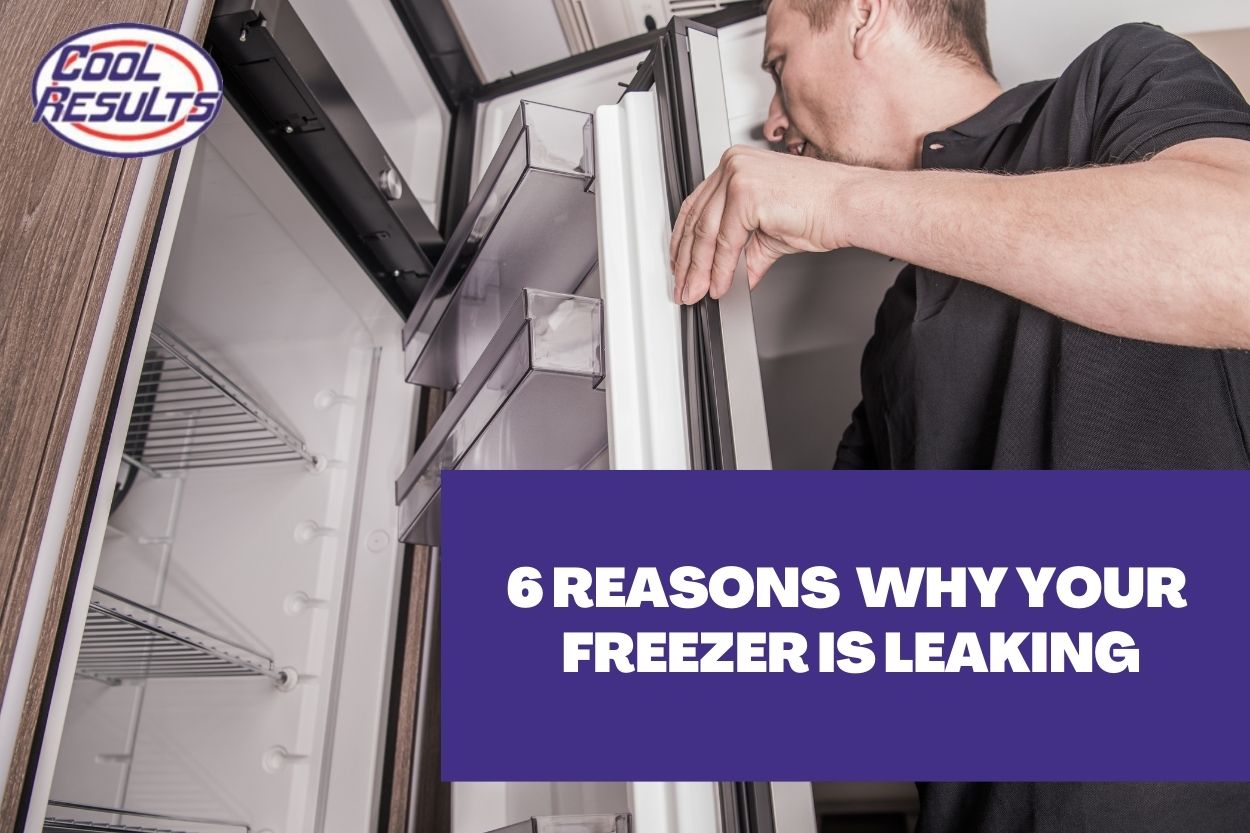
There are several reasons your freezer is leaking water, and most of them are fixable yourself. A leaky freezer can lead to problems like food spoilage and damage to your floor. Explore 6 common causes behind a leaking freezer and see how to fix them.
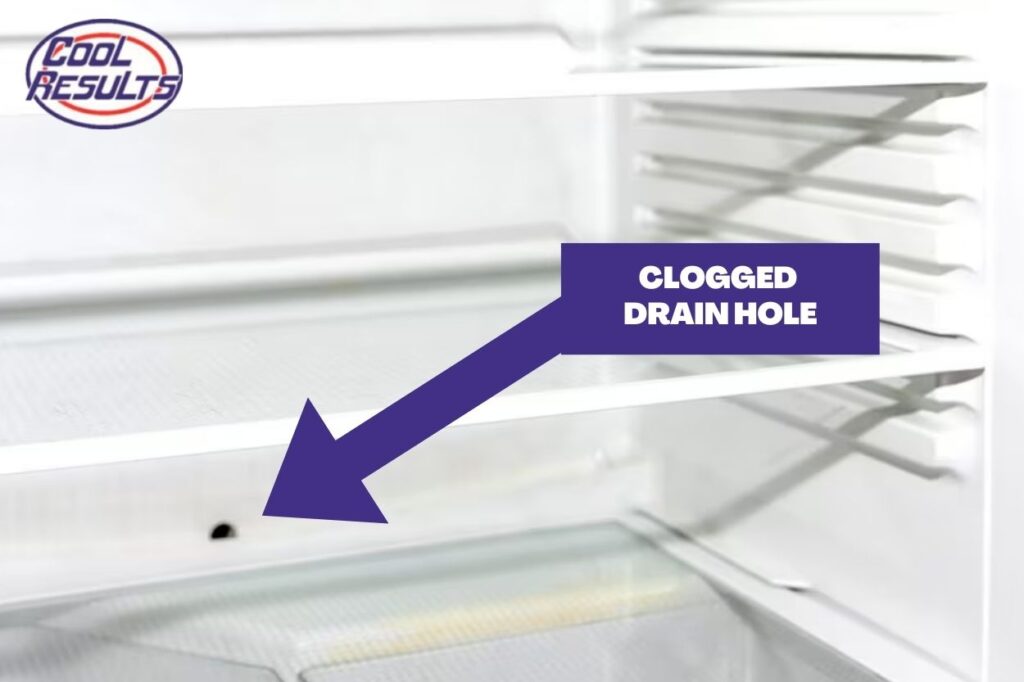 1. Clogged Drain Hole
Cause
Your freezer has a tiny drain hole located inside the back panel near the bottom. This hole channels condensation that builds up during the deforest cycle. This passage can be blocked by food particles, ice crystals, or small waste particles that fall into the freezer cavity. Over time, this blockage prevents meltwater from draining properly and leads to major leaks.
Symptoms
Water pooling at the bottom of the freezer compartment: This is the most common symptom. If you notice a pool of water on the bottom shelf or around the back of the freezer, it’s a strong sign that the drain hole is blocked.
Leaking from the freezer door: As the water level rises due to a clogged drain, it can eventually overflow and leak out from the bottom of the freezer door.
How to Fix
- Unplug the freezer
- Locate the drain hole (Typically found near the bottom back panel inside the freezer compartment, where you might see a small rubber flap covering it).
- Clear any visible debris.
- Fill your baster with warm water and slowly squirt water down the drain hole. Repeat the process a few times until the clog dislodges and water flows freely.
- If warm water alone doesn’t work, try using a straightened paper clip to gently nudge the clog loose. Be very careful not to force anything or damage the drain hole.
- Once you are confident the clog is cleared, replace the rubber flap (if applicable) and plug your freezer back in.
TIP: Regularly cleaning your freezer and wiping up any spills can help prevent food debris from gathering around the drain hole and causing clogs.
 2. Blocked Drain Line
Cause
The drain line, a thin hose behind your freezer, carries melted defrost water to a drip pan. Warm air melts ice on the coils during the defrosting process. This water travels down the drain line, but frost buildup can block the line and prevent drainage if the freezer isn’t working.
Symptoms
Water pooling at the bottom of the freezer compartment: This clearly shows that the defrost water isn’t draining properly.
Leaking from the freezer door: Just like a clogged drain hole, overflowing water can leak out from the bottom of the freezer door.
Unusual noises: You can hear dubbing sound during the defrost cycle if the blockage is caused by ice build-up within the drain line.
How to fix
- Empty the freezer
- Locate the drain line. It is normally found behind the appliance’s bottom kickplate. You might be able to see or feel the frozen section of the line.
- Use a hair dryer set to low heat and carefully blow warm air into the blocked section of the drain line. Important: Avoid using a high heat setting, as this can damage plastic tubing. Be patient and keep moving the hairdryer to avoid overheating any one spot.
- The melting process can take some time, depending on the severity of the blockage. Just keep applying gentle and consistent heat.
- Check on the drain line to see if the ice is melting. You can notice some dripping from the drain pan as the blockage clears.
- Once the blockage is cleared and water starts flowing freely, use a towel to dry up excess water around the drain line and drip pan.
 3. Faulty Defrost Timer/System
Cause
The defrost time, like an internal clock, automatically switches your freezer between freezing and defrosting to prevent ice buildup. A failed timer can disrupt this cycle, resulting in constant freezing or continued defrosting, which can lead to leaks.
Symptoms
Constant freezing on the coils: You can notice an excessive frost buildup on the evaporator coils inside the freezer compartment.
Leaking water: Stuck water can melt too much ice, resulting in water overflow and leaking from the freezer.
How to Fix
Replacing a faulty defrost timer can be a bit more complex than previous fixes. It requires technical knowledge and access to parts behind the freezer’s control panel. If you are not familiar with repairs, it’s best to call a qualified repair technician.
Cool results experts are just a call away. Enjoy fully insured on site service from a team with an experience of over 25 years.
Here is a general overview of the steps (Look for your freezer’s manual for detailed instructions)
- To access the timer, you will need to remove the freezer’s back or control panel. Refer to your freezer’s manual for specific instructions on how to do this.
- Find the timer. The defrost timer is usually a small cylindrical device with wires attached.
- Purchase a replacement defrost timer that’s compatible with your specific freezer model. Carefully disconnect the wires from the old timer and match them up with the corresponding terminals on the new timer.
- After the installation, carefully assemble everything and plug the freezer back in.
 4. Damaged Door Seal
Cause
Your freezer’s door seal acts as a weatherproof gasket, creating a tight barrier that keeps cold air in and warm air out. However, this seal can become worn, cracked, or torn, compromising its ability to maintain a proper seal over time.
Symptoms
Ice buildup around the edges of the freezer compartment: It can be a result of entering warm air and causing condensation to freeze.
Difficulty closing the door: A damaged seal can prevent the door from closing completely or create a misaligned closure.
How to Fix
- Look for cracks, tears, or permanent wrap that may prevent a proper seal. You can also run your fingers along the seal to feel any unevenness or gaps.
- Dirty or grimy seals can lose their effectiveness. Try cleaning the seal with a mild soap and water solution. Wipe it clean and dry thoroughly before reinstalling it on the door.
- You may be able to reposition the seal if it is not sitting flush with the freezer frame. Consult your freezer’s manual or contact an expert for specific instructions on adjusting the seal placement.
- If the seal is cracked, torn, or permanently damaged, a replacement is necessary. You can find replacement door seals online or at appliance parts stores. Make sure to get a seal specifically designed for your freezer model.
TIP: Avoid slamming the door shut to prevent premature wear and tear on your door seal. Also, get into the habit of wiping up any spills on the seal to prevent them from drying and sticking.
 5. Improper Leveling
Cause
Even a slight tilt in your freezer can lead to leaks. Your freezer defrost system relies on gravity to drain melted ice water through a drain hole. If the freezer isn’t level, the water can pool in one corner instead of flowing freely towards the drain. This overflow can eventually lead to a leaking freezer.
An unlevel freezer can also cause the drain hole to be slightly off-center. This makes it difficult for the melted water to drain properly, leading to clogs and leaks.
Symptoms
Uneven freezing: If you notice some areas of your freezer are colder than others, it can be a sign that the appliance is tilted and not cooling evenly.
Door not closing properly: A misaligned freezer might cause the door not to close completely or create a gap around the edges. This allows warm air to enter and puts extra pressure on the defrost system, resulting in leaks.
How to Fix
- Clear all food and ice trays for safe and easy movement.
- Most freezers have adjustable feet at the bottom corners, sometimes hidden behind a kickplate. Consult your freezer manual for the exact location.
- Place the bubble level on top of the freezer in both directions (front-to-back and side-to-side). Adjust the leveling feet by turning them clockwise to raise the corner or counterclockwise to lower it.
- Keep checking the level and adjusting the feet until bubble is centered in the level in both directions.
- Once the freezer is level, close the door and check if it sits flush against the wall with no gaps.

6. Faulty Water Line Connection (Applicable to models with water dispensers)
This section is only applicable to freezers that come with water dispenser features.
Cause
A leak around the back of your freezer can result in a problem with the water line connection. This line supplies water to the dispenser; if it becomes loose, cracked, or worn, it can leak and cause water damage.
Symptoms
Leaking around the back of the freezer: You might notice pools of water on the floor behind the freezer or even see water dripping from the back panel.
How to Fix
Fixing a faulty water line connection involves working with a plumbing system and turning off the water supply to your freezer. It is strongly recommended to call a qualified appliance repair person to diagnose and fix the issue.
Conclusion
Timely repairs are essential for preventing further damage and ensure your freezer functions well. Keep it in mind for regular maintenance and keep it clean for a lasting run. Although this guide helps to fix common issues like the freezer is leaking water, consulting a professional is the best option. Never take risks in complex repairs, electrical issues, water line connections, etc.
Cool Results is a certified refrigeration service with over 25 years of experience. You can contact the expert team for repair, installation, and maintenance anytime. Our 22-checklist program ensures that our service for your machine lasts twice as long. Get in touch with us for the best refrigeration repair service.